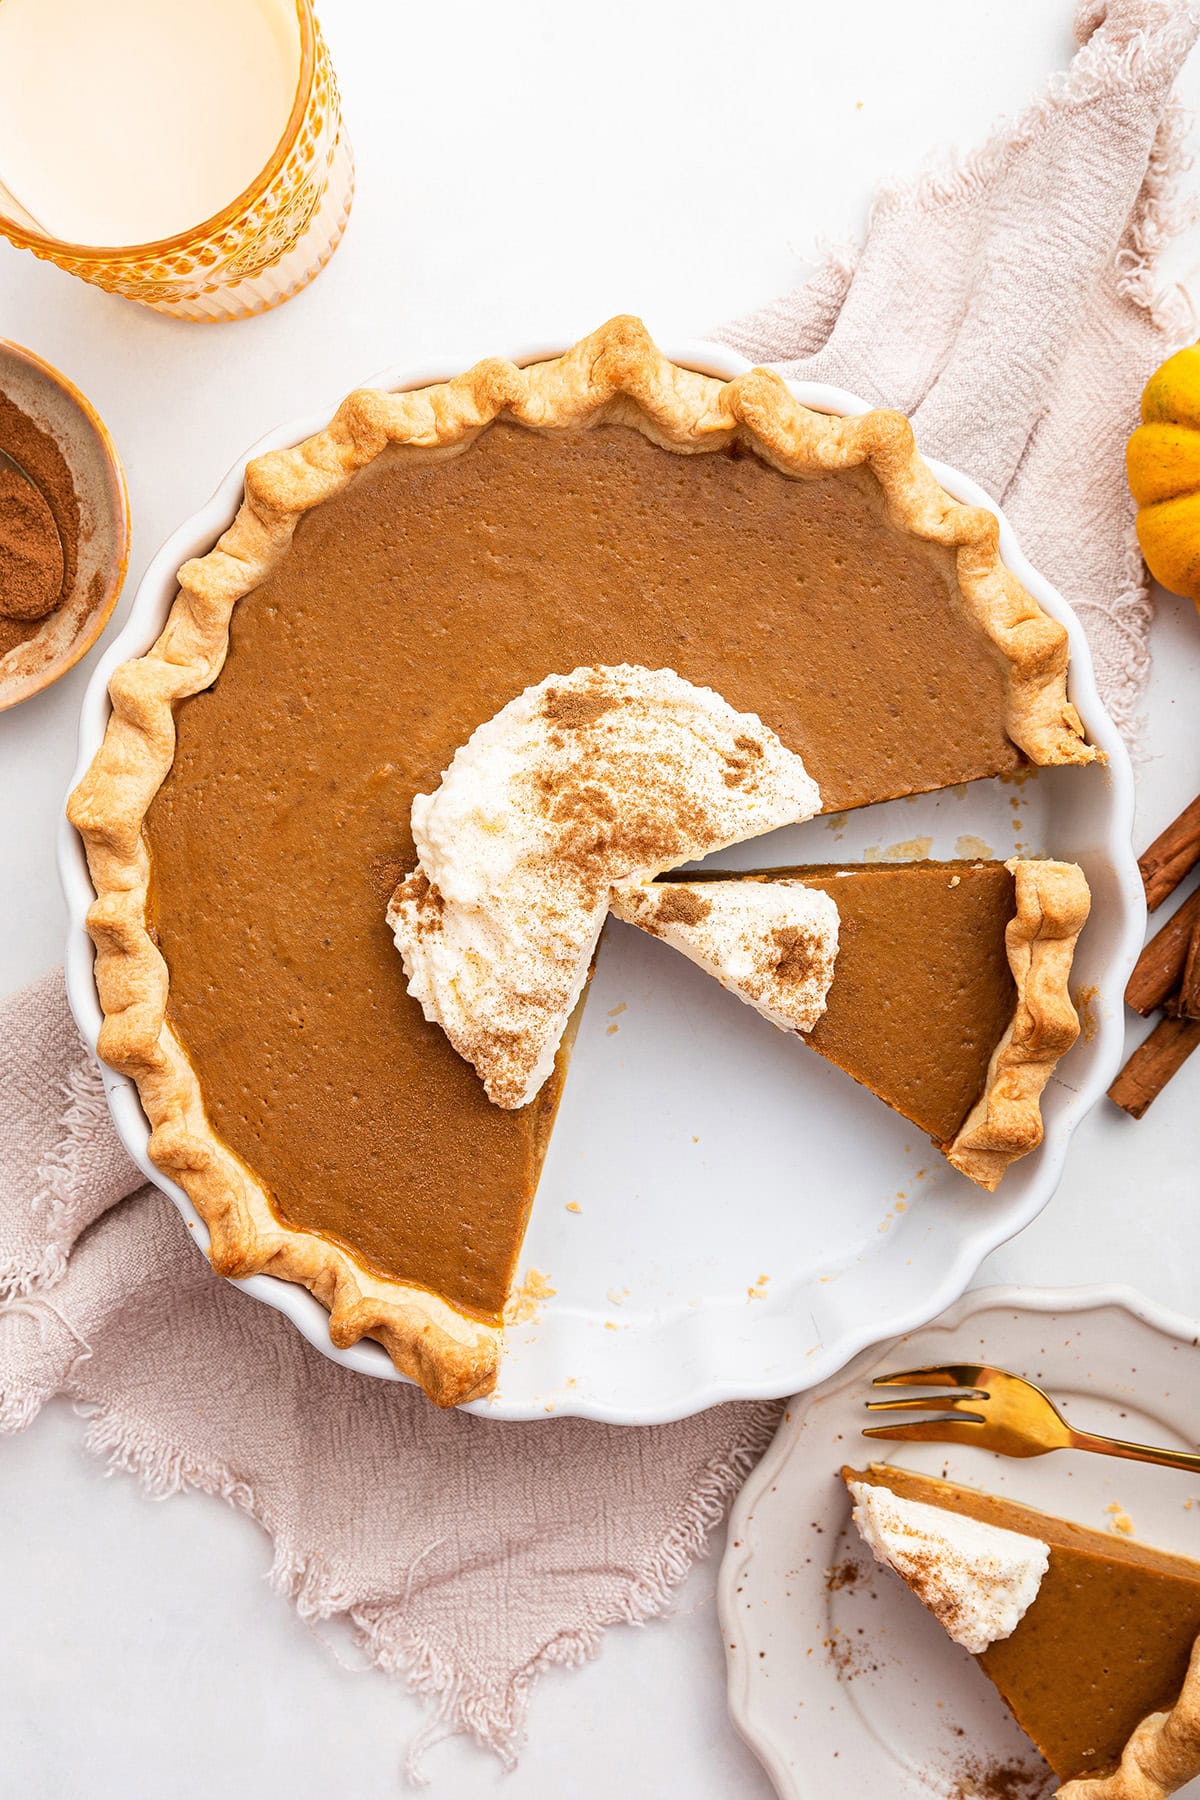
This healthy pumpkin pie is dairy-free and naturally sweetened with maple syrup and coconut sugar. It’s super creamy, easy to make and guaranteed to be your new favorite holiday dessert!
If you’re looking for a healthier Thanksgiving dessert to add to the menu this year, I’ve got you covered with this healthy pumpkin pie, which I’m so excited to finally be sharing with you!!
This recipe has been in the making for awhile now and if you follow me on Instagram you know we tested this recipe probably over 10 times before finally perfecting it and landing on the recipe I’m sharing today.
I already have a vegan pumpkin pie on the site, but I wanted more of a traditional pumpkin pie that was dairy-free, made with less sugar and naturally sweetened. Even though this recipe is lightened up, it’s still SUPER creamy and has that same pumpkin spice flavor you know and love. Trust me, this pie is soooo good – I promise it tastes like the real deal!
I’ll definitely be making this pie for Thanksgiving this year alongside some of my other faves like this wild rice stuffing, shaved brussels sprouts salad, green bean casserole, cranberry sauce and sweet potato casserole. I can’t wait for you to try it. I know it’s going to be a new holiday favorite!
and the Google Privacy Policy and
Terms of Service apply.
Why You’ll Love This Pie
- Healthier – Classic pumpkin pie is made with white sugar and some form of dairy like evaporated milk, condensed milk or half and half. In this recipe there’s no refined sugar and no dairy. We’re using maple syrup and coconut sugar to make this pie naturally sweetened and oat milk to make it dairy-free. Plus, it has less sugar than most traditional pumpkin pie recipes.
- Easy to Make – With minimal ingredients and straightforward steps, this pumpkin pie is a breeze to whip up, especially if you use store-bought pie crust (which I usually do as a time saver).
- Perfect for the Holidays – This pie is a fantastic addition your Thanksgiving menu, offering a lighter dessert option that’s still creamy and decadent. No one will even know it’s a lightened up pie!
Ingredients Needed
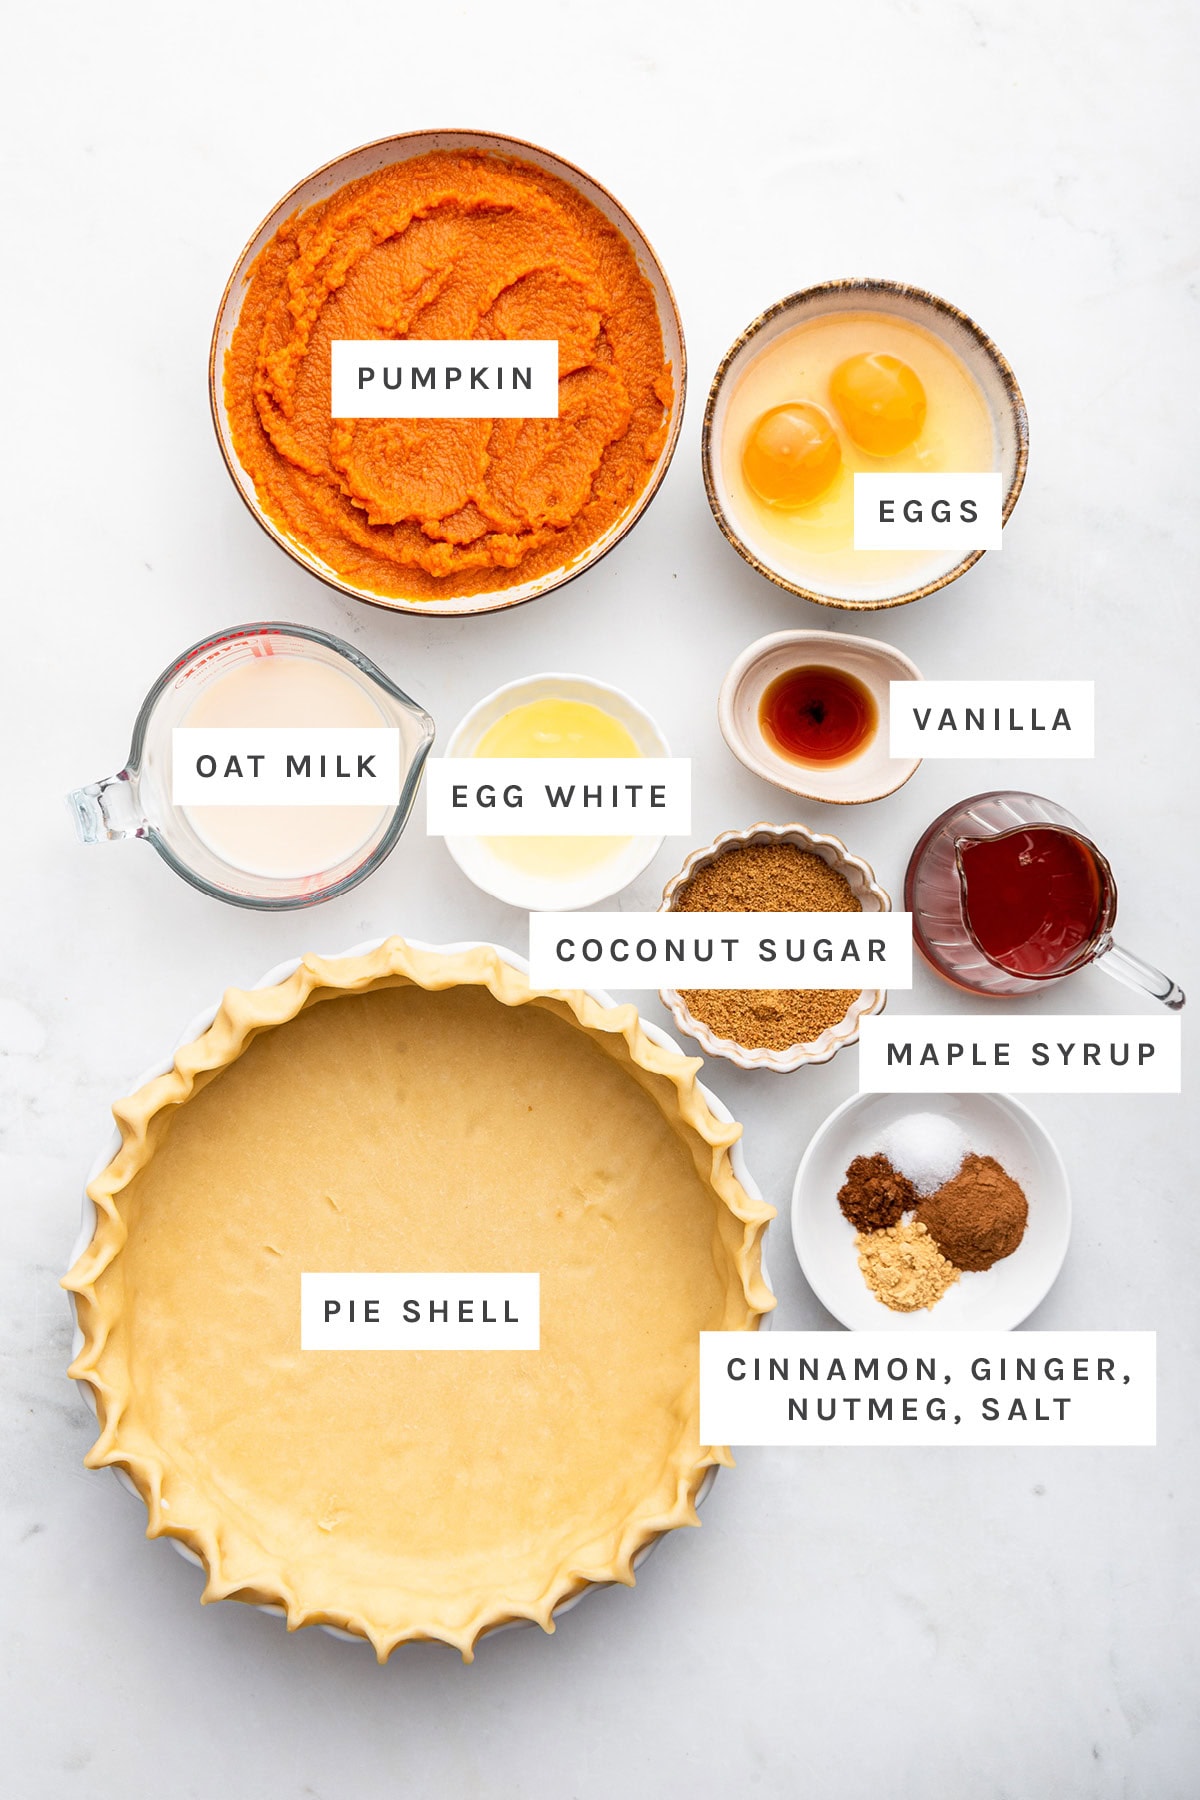
- pumpkin puree – the star of the show, bringing that delicious pumpkin flavor we all know and love. You can use store-bought canned or make homemade pumpkin puree. Just make sure you’re using pure pumpkin puree and NOT pumpkin pie mix, which is pre-sweetened.
- eggs – you’ll need two eggs and one egg white (or a third egg) for this recipe. This is what gives the filling the perfect creamy, custard-like texture.
- milk – I love using unsweetened oat milk for a bit of creaminess without the dairy, but you can use any dairy-milk of choice like unsweetened almond milk or coconut milk.
- maple syrup – adds a natural sweetness and pairs so well with the pumpkin and spices. It’s my go-to sweetener! Just make sure you’re using pure maple syrup and not pancake syrup as that’s loaded with corn syrup.
- coconut sugar – this adds a hint of caramel-like sweetness that deepens the flavor of the pie. It’s a great alternative to refined sugar.
- vanilla extract – just a splash to round out the flavors and add that coziness.
- spices – we’re using a mix of cinnamon, ground ginger and nutmeg for that perfect pumpkin spice flavor. I didn’t add cloves or allspice, but if you’re a fan of the flavor feel free to add a dash.
- pie crust – for ease I used a 9″ store-bought pie crust. My favorite brand is the Wholly Wholesome traditional frozen pie crust as they’re made with minimal, organic ingredients and they also have a gluten-free option. That said, feel free to use your favorite store-bought pie crust or if you’re feeling ambitious you can make your own pie crust. This looks like a great homemade pie crust recipe.
Find the full ingredient list with measurements in the recipe card below.
How to Make Healthy Pumpkin Pie
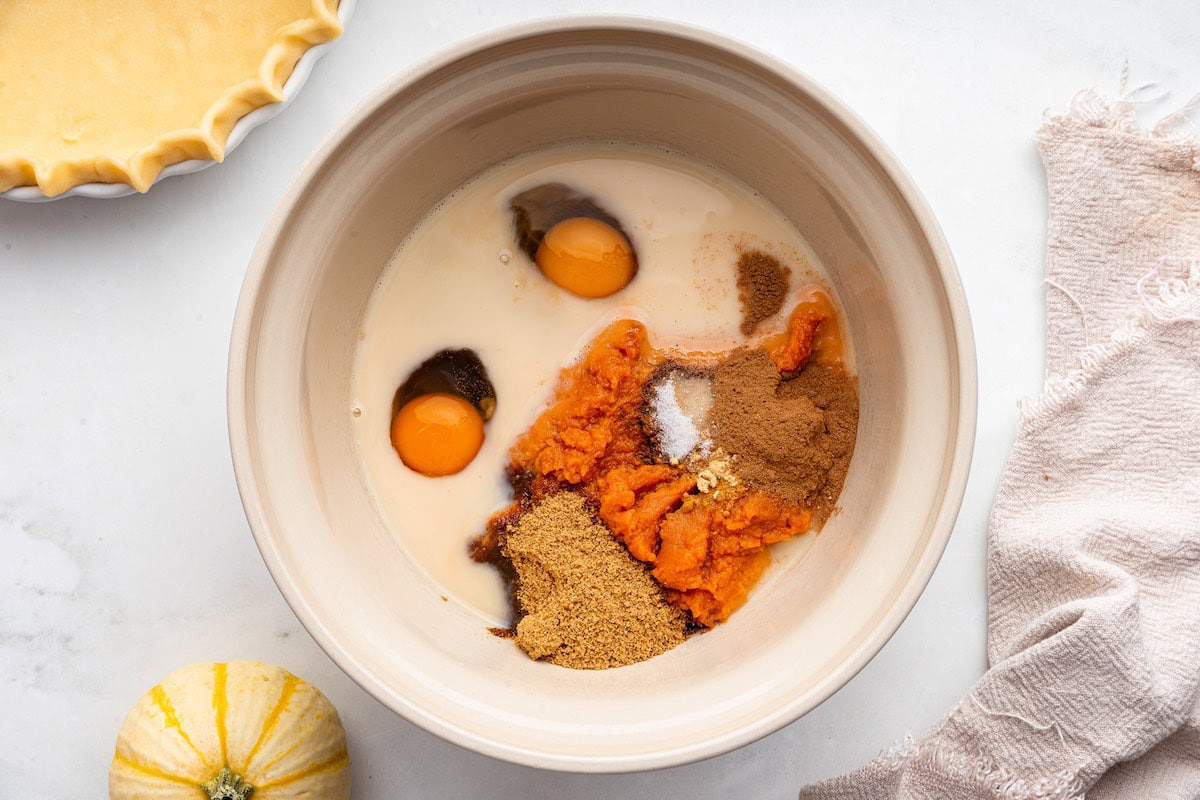
Step 1: Add add all the filling ingredients to a large mixing bowl.
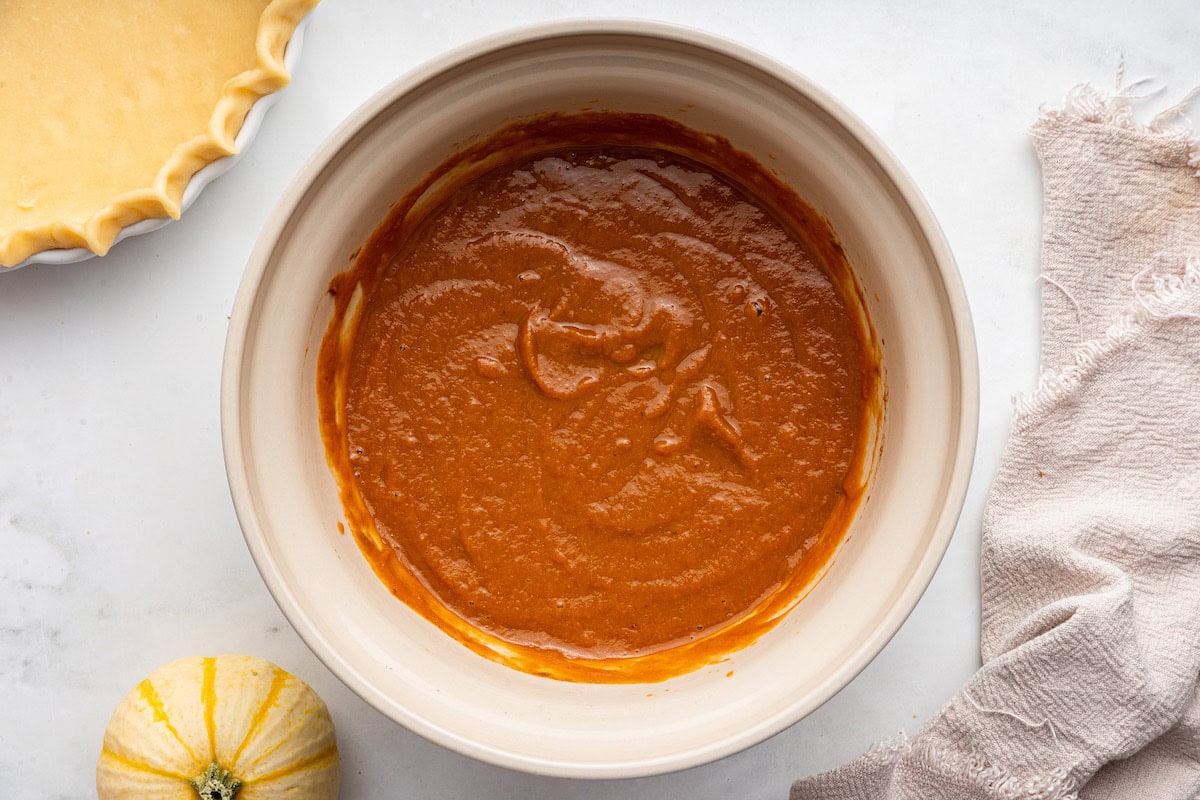
Step 2: Whisk everything together until you’ve achieved a smooth consistency.
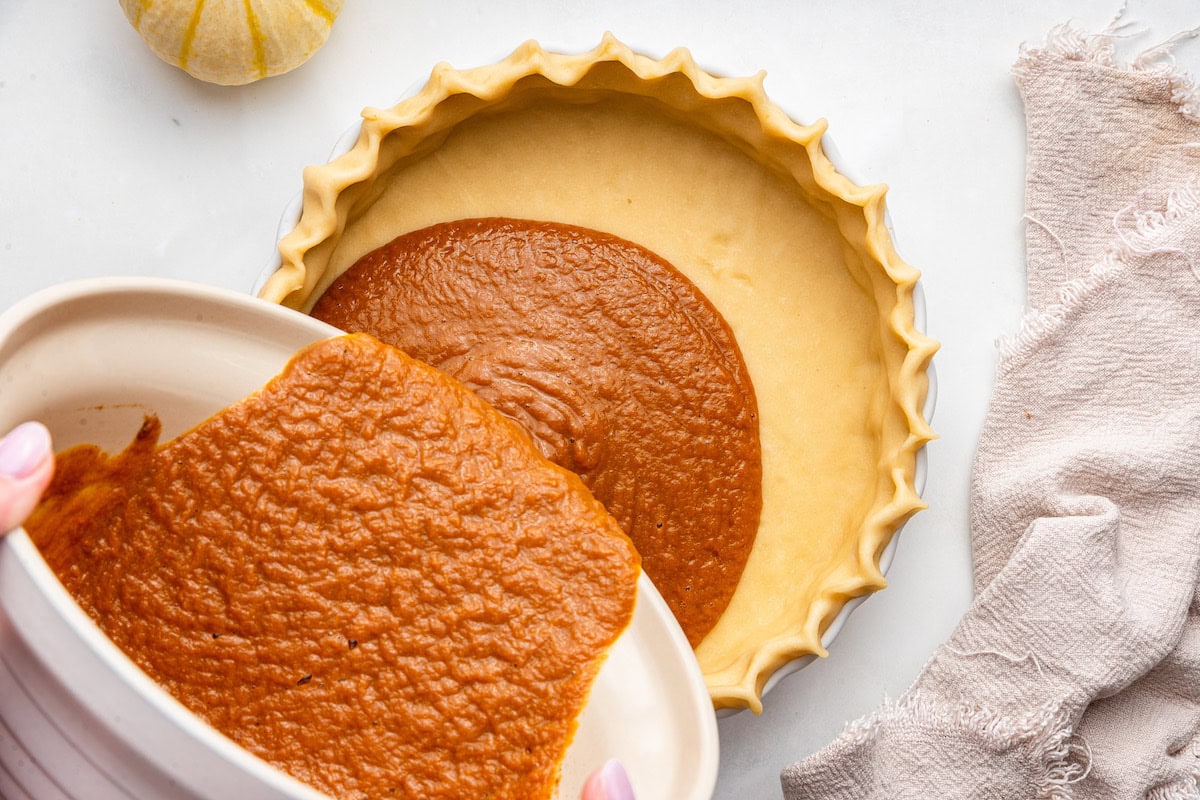
Step 3: Pour the batter into a prepared pie crust.
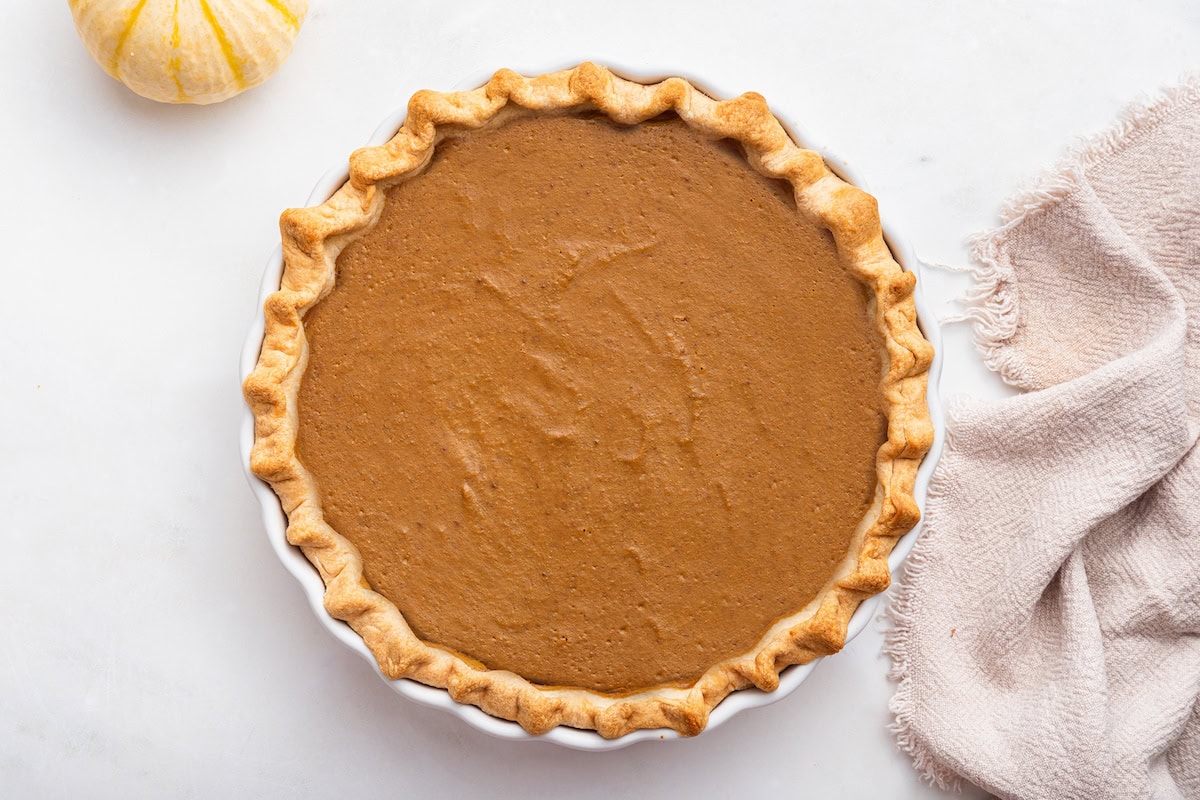
Step 4: Place the pie on the lowest rack of the oven and bake for 50-60 minutes, or until the filling is set.
Brittany’s Tips!
- Bake pie on lower rack: I recommend baking the pie crust on the lower oven rack to help the crust fully bake and prevent the filling from overcooking.
- Bake until just set: You don’t want to over-bake your pie otherwise it could crack. You want to bake your pie until the edges are firm and the filling is mostly set, but still has a little jiggle to it. The pie will set fully as it cools.
- Cover the crust if needed: If the crust edges start to brown too quickly, cover them with aluminum foil or a pie shield.
- Cool at room temp: Make sure to let the pie cool completely at room temperature before chilling in the fridge. If you place the pie in the fridge too soon if could cause the pie to crack from the quick change in temperature.
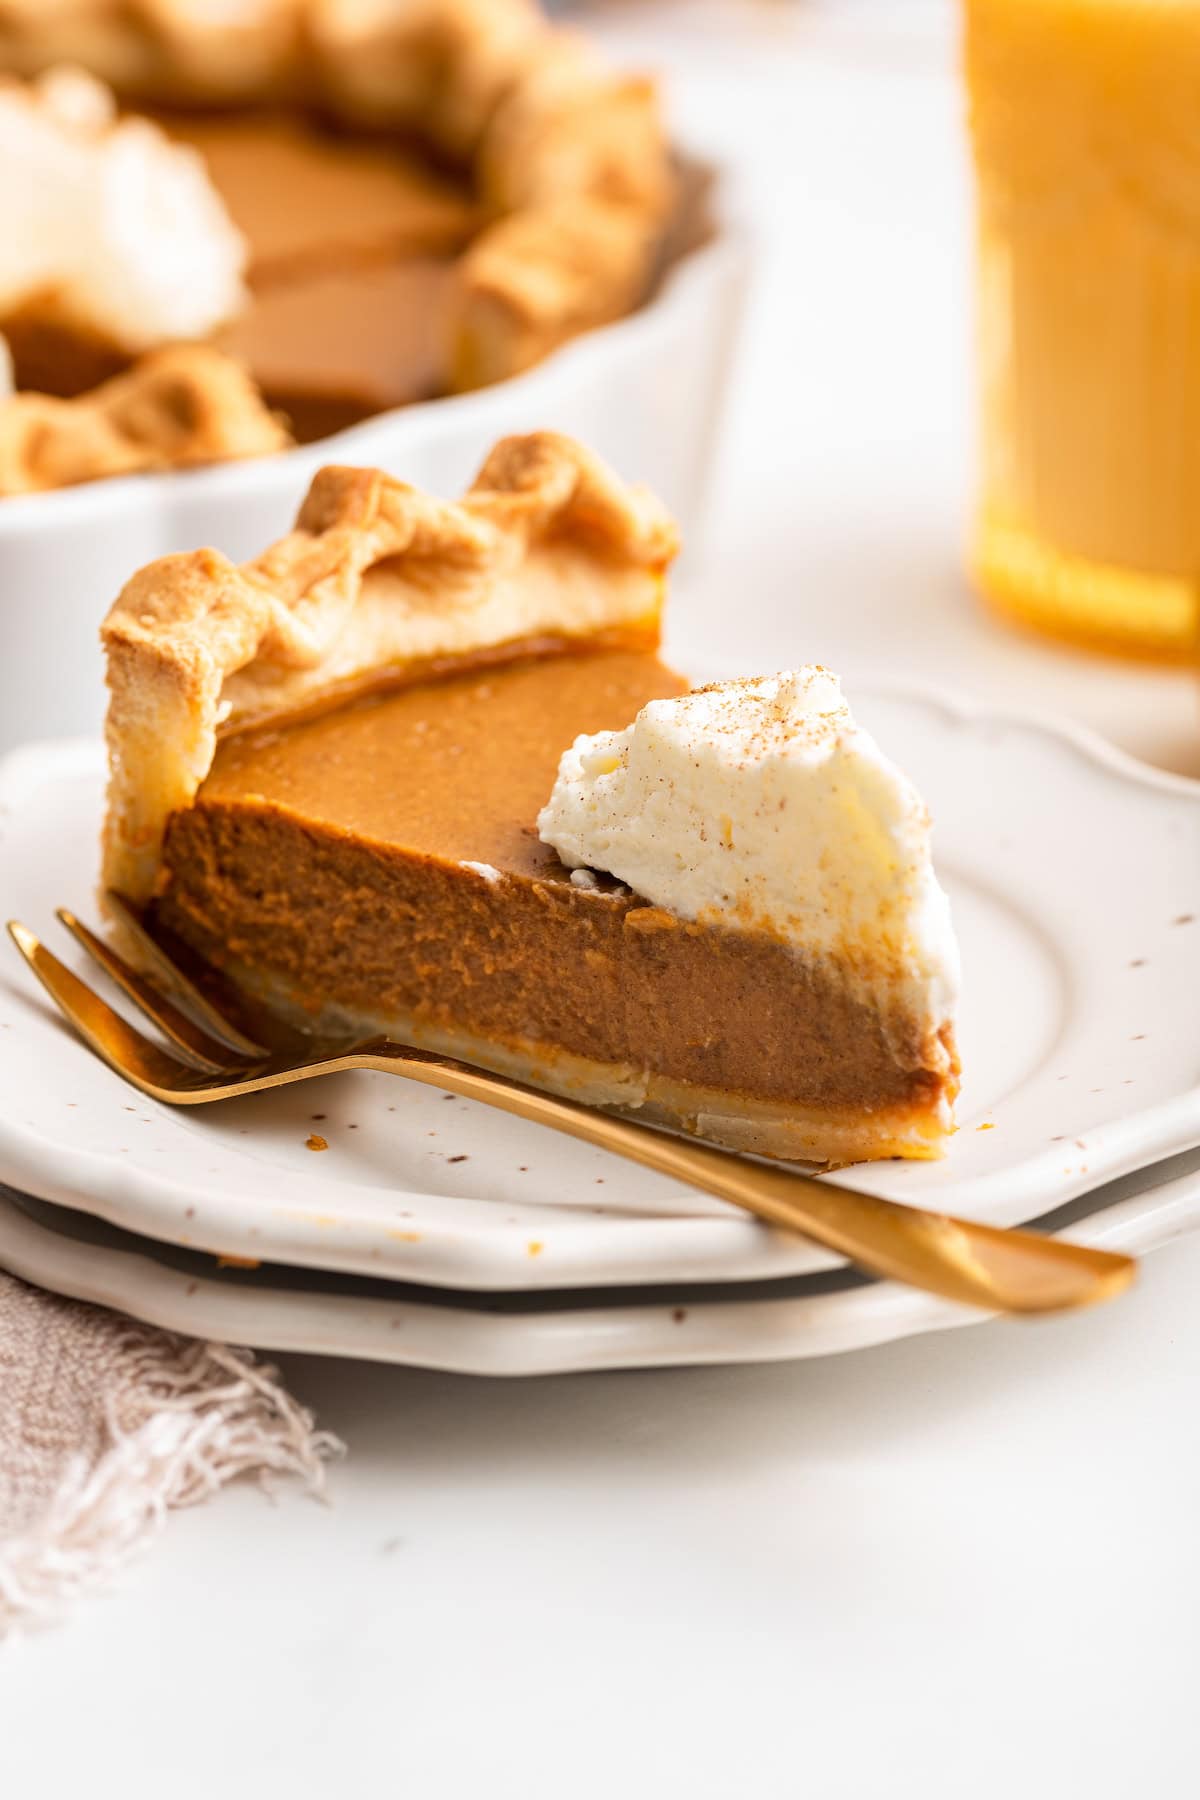
How to Store Leftover Pie
Once cooled, cover the entire pie tightly with plastic wrap or aluminum foil, and store it in the refrigerator. Alternatively, you can store individual pieces in an airtight container. It will keep well for up to 3-4 days in the fridge. If you’re making the pie in advance, it’s a great option to store it in the fridge so the filling sets even more, making it easier to slice and serve.
For longer storage, you can freeze the pie whole or sliced and store it in the freezer for up to 3 months. To freeze the pie whole, wrap the cooled pie tightly in plastic wrap and then in aluminum foil to prevent freezer burn. To freeze individual slices, store in a freezer-safe container. When you’re ready to enjoy it, thaw the pie in the refrigerator overnight and serve chilled with whip cream, if desired!
Frequently Asked Questions
The pie is done when the edges are firm and the filling is mostly set but still has a slight jiggle in the center when lightly shaken. It will continue to firm up as it cools. If the edges of the crust are browning too quickly, you can cover them with foil to prevent burning.
Yes! This healthy pumpkin pie is a great dessert to make in advance for holiday meals. The filling firms up more the longer it sits in the fridge, so you can easily make this pie 1-2 days in advance from when you want to serve it. Just make sure to store it covered in the fridge until you’re ready to serve. You can also prepare the filling in advance and store it in an airtight container in the fridge and bake as directed.
Cracks in the pumpkin pie can happen for many reasons. Some of the main reasons are if the pie is over-baked, placed too high up in the oven or if it cools too quickly. If you do end up with cracks, don’t worry — just cover them with whipped cream, and no one will know!
More Holiday Desserts
Be sure to check more Thanksgiving recipes as well as the full collection of dessert recipes on EBF!
If you enjoyed this recipe, please consider leaving a ⭐ star rating and let me know how it went in the 📝 comments below.
-
Preheat oven to 350°F. Prepare your pie crust and set aside.
-
In a large bowl, combine the pumpkin puree, eggs, milk, maple syrup, coconut sugar, vanilla extract and spices. Mix until smooth and combined.
-
Pour the filling into the pie shell.
-
Carefully place the pie in the oven on the lower rack. Bake for 50-60 minutes, or until the edges are firm and the filling is mostly set, but still has a little jiggle to it. The pie will set fully as it cools. If the crust edges start to brown too quickly, cover them with aluminum foil.
-
Allow the pie to cool completely before slicing, about 2 hours or so. This will help the filling set properly. Slice and serve with whipped cream on top. If you’re making this in advance, store in the fridge until ready to serve. This will set the filling even more.
- To store: Store any leftover pie in an airtight container in the fridge for 3-4 days.
- To freeze: Store the whole pie or individual slices in the freezer for up to 3 months.
- If your pie crust starts to brown too fast, cover the edges with foil or use a pie shield.
- If you’re looking for a vegan pie, try my vegan pumpkin pie instead.
- Looking for a gluten-free pumpkin pie? Use a gluten-free crust option! Wholly Wholesome has a great gluten-free option.
Serving: 1 slice | Calories: 225kcal | Carbohydrates: 31g | Protein: 4g | Fat: 10g | Saturated Fat: 4g | Sodium: 270mg | Potassium: 130mg | Fiber: 2g | Sugar: 10g
Nutrition information is automatically calculated, so should only be used as an approximation.
